


The McGee Home Exterior: The Details
Everything from paint colors to gutter finishes
05 March 2020 -
Today is one of those days that felt like it would never come!
After five years of designing everyone else’s dream homes and living in rentals, we finally got to build our own, and now, we get to share it with you!
It’s surreal to think back to the beginning stages of pinning inspiration, choosing materials, and dreaming about all the details, and we can’t wait to reveal every space here and give you an inside look at the process.

For those of you who have built, you know it’s no easy feat. Tyler, the founder of our contracting team, Killowen Construction, said it best when he said, “When you build a home for someone, you get to know them. Boundaries drop, it’s the most expensive thing they’ll ever buy, they raise their children there, and it’s very personal.”
It was a really interesting experience being on the other side of the table. Every detail was important to me. When you’re building a custom home, you have to think of things like “How many inches is my overhang on my roof going to be?” or “What is my drip edge color?” Tyler helped me work through all of those little things, and we couldn’t be more grateful to him and the rest of the team at Killowen Construction for their hard work, patience, and help to make our home a reality.
Yesterday, we posted our first webisode about the exterior, and today, we’re breaking down each category to answer some of your questions!
The Inspiration
At the beginning of this process, we posted an inside look into the inspiration behind the exterior of the home. Now that it’s complete, it’s so much fun to look at the mood boards and remember the days that it was all just a dream.
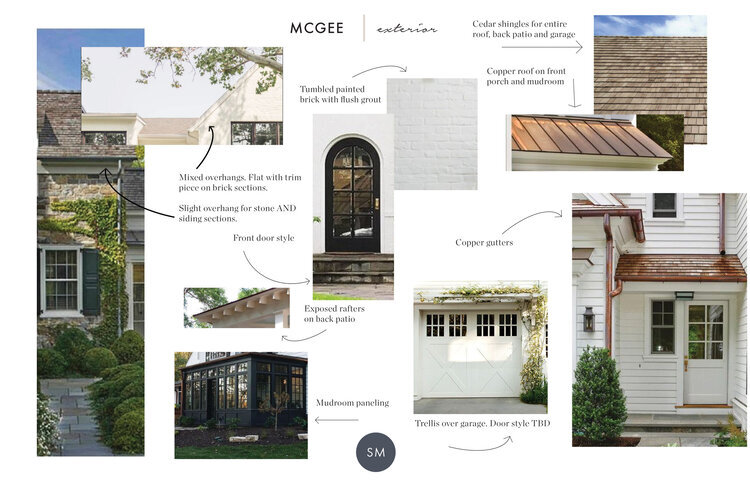
You can read the full inspiration post here to learn more about the decisions we made.
The Framing
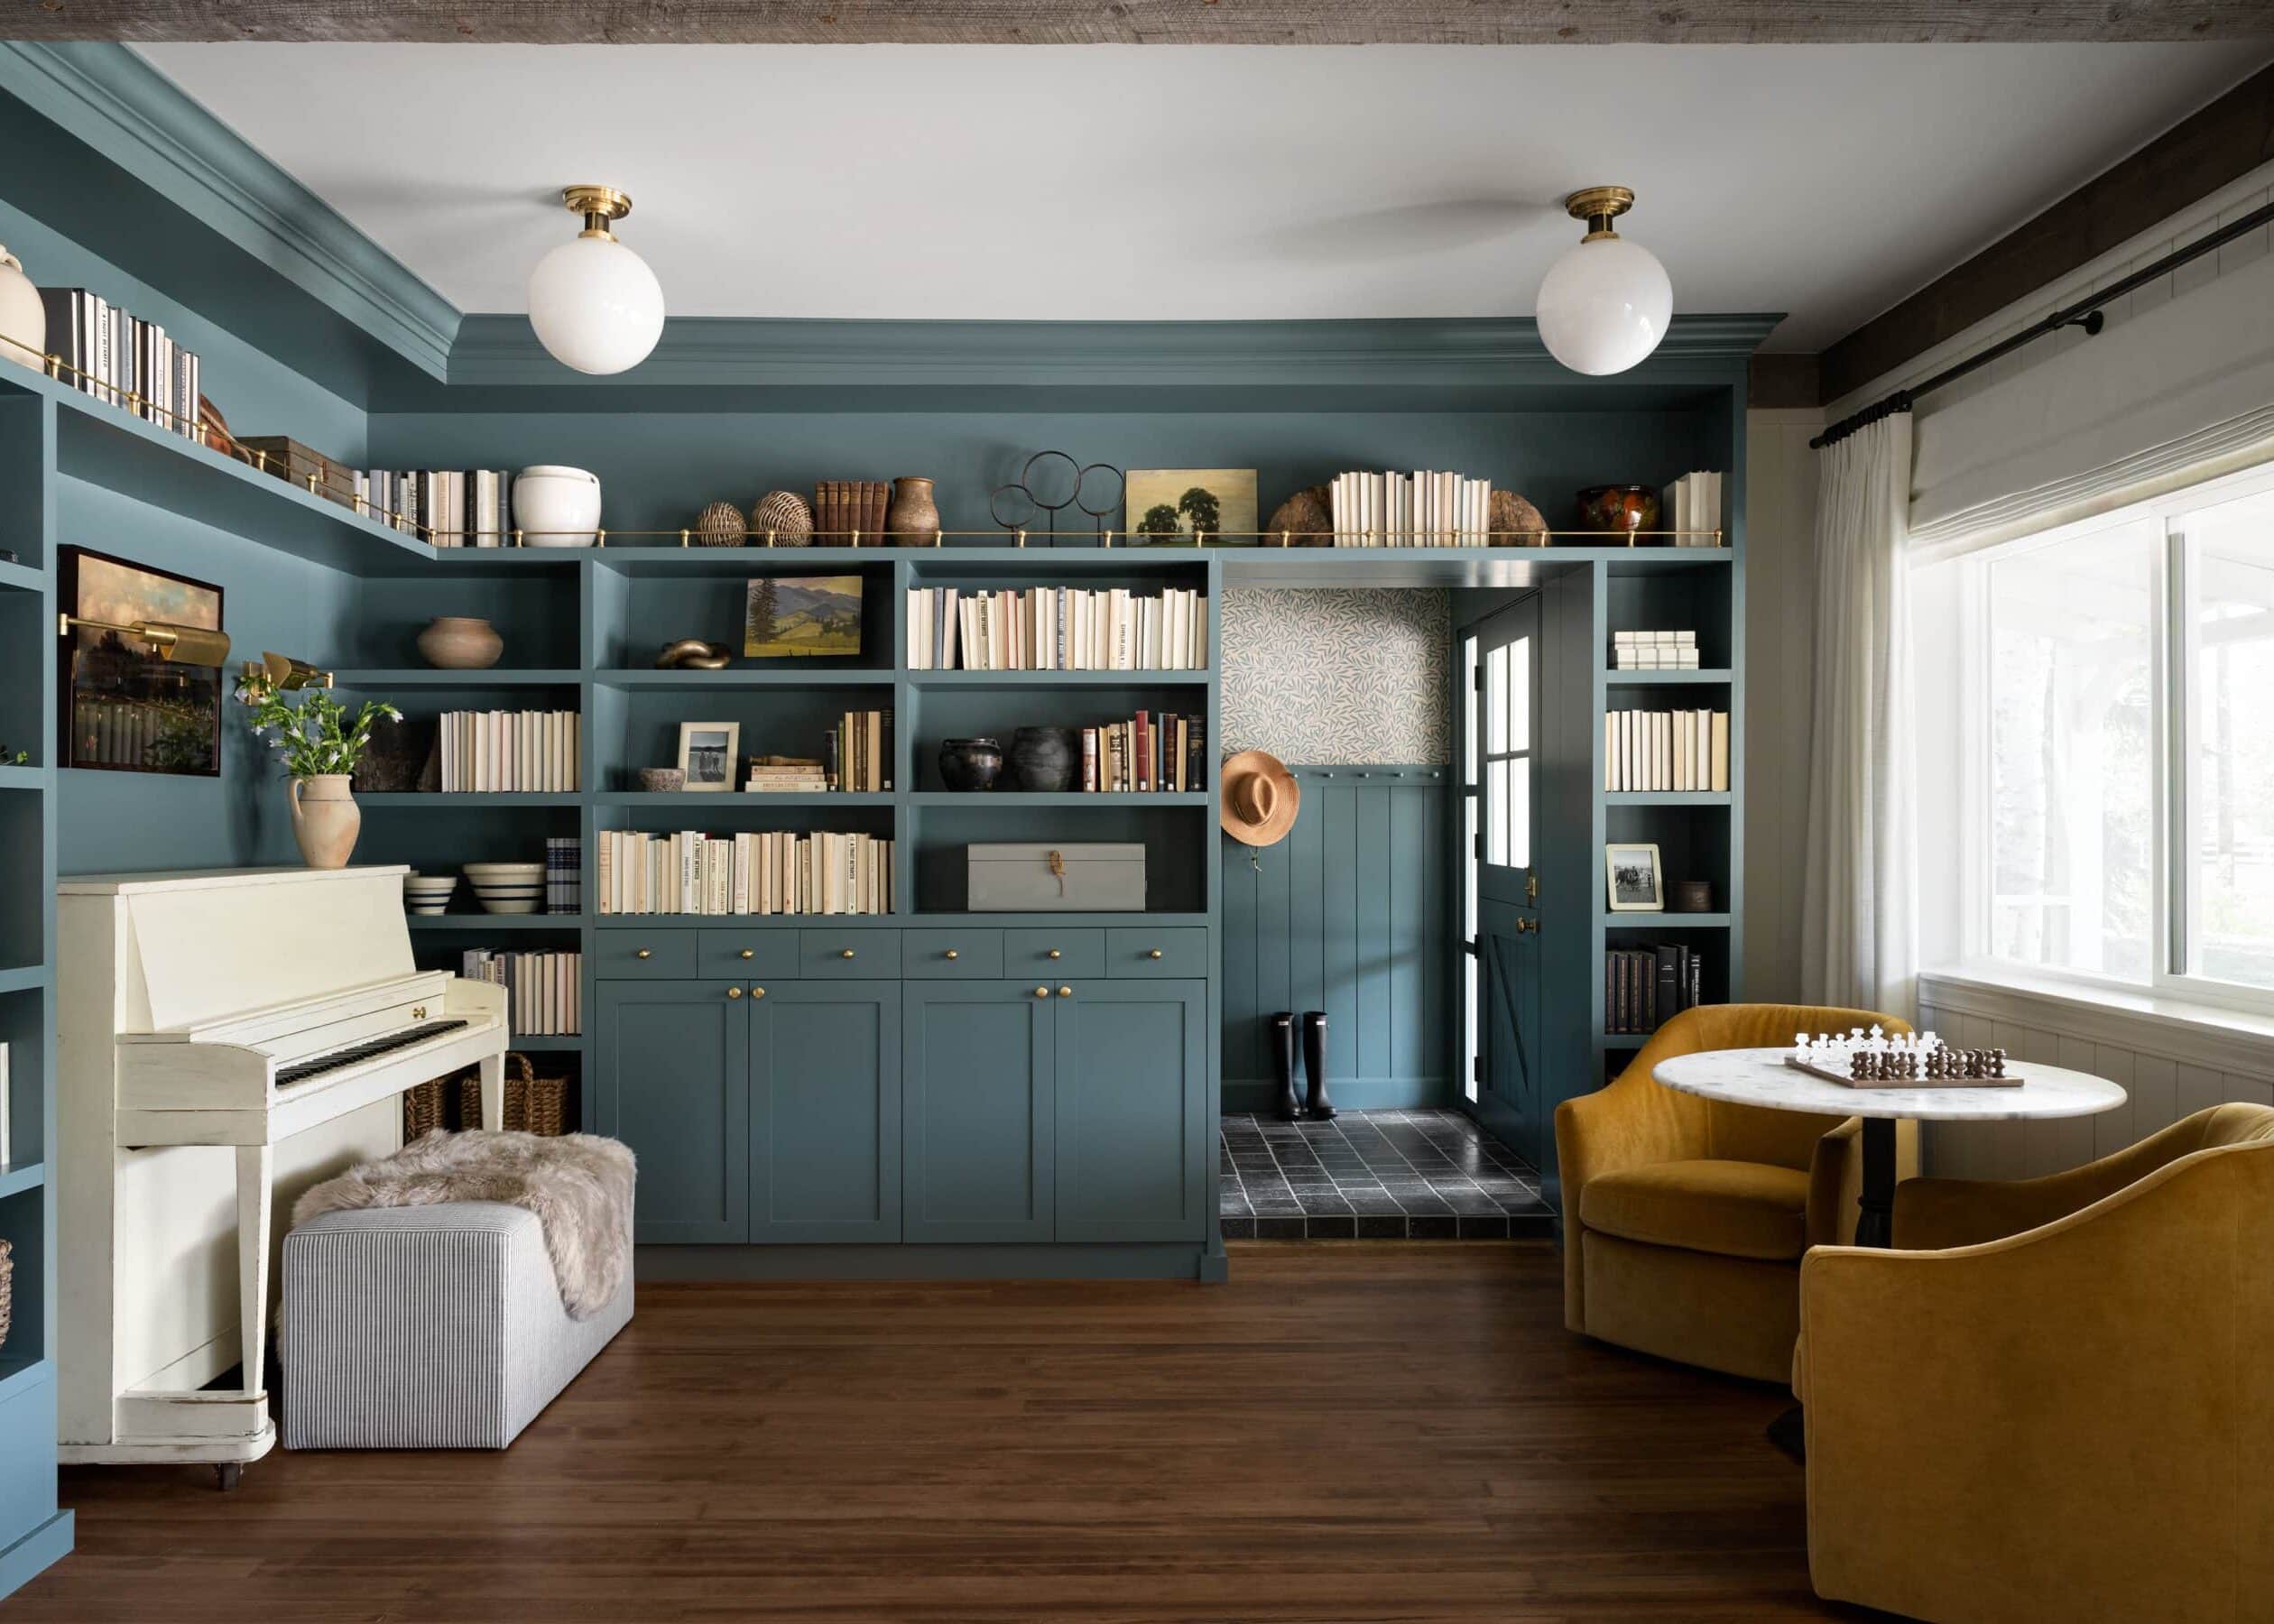
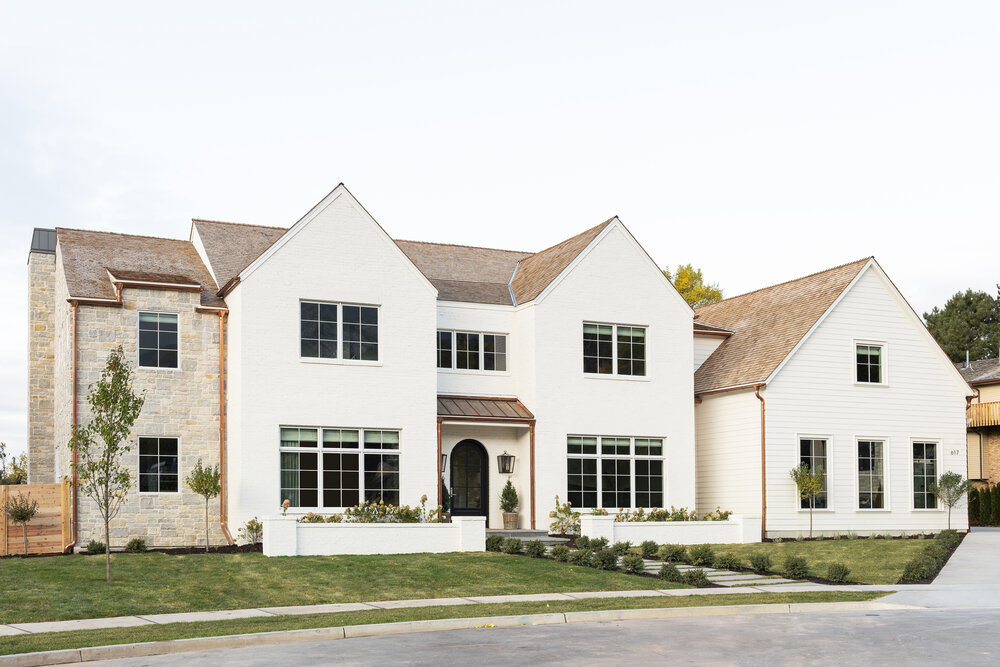
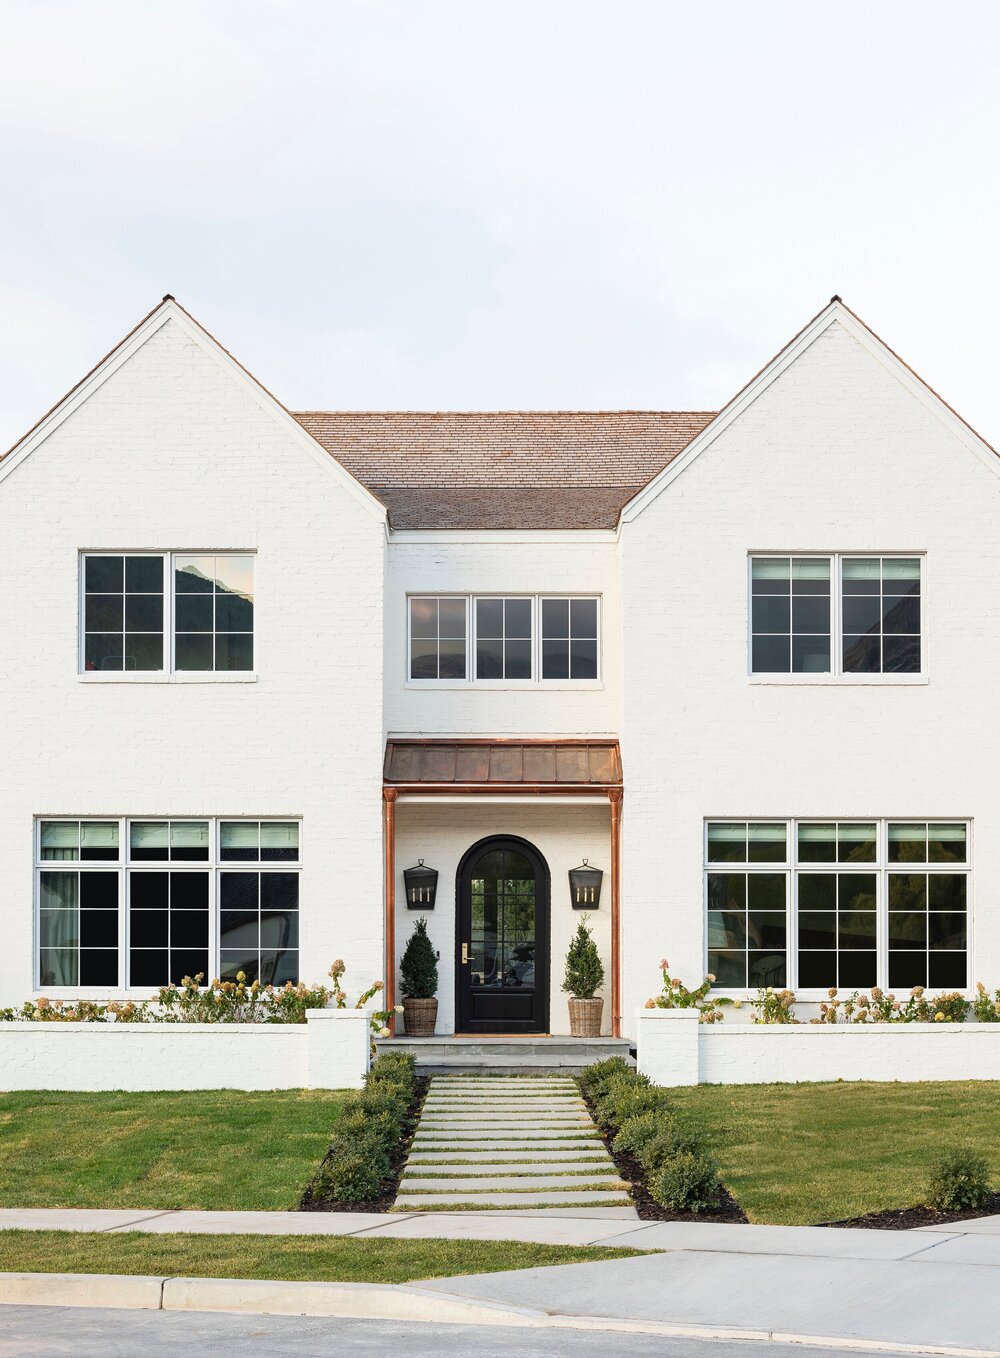
I really love flat exteriors, I think they just have this grand traditional but modern mix, and that’s what I’m all about. I had a very strong idea of what I wanted from the beginning for the front elevation of our home: two symmetrical gables, mixed materials, and plenty of old-world charm.
The biggest challenge of framing the house for our contractors was the Utah weather, they don’t stop with the snow, and it can get tough. Luckily, the team worked through it and visiting the house any chance we could kept our spirits up during those brutal busy winter months. There’s nothing better than walking through the unfinished frame of your home and knowing that someday it will be the place you and your family will grow and make memories.
The Windows
In a new build, selecting your windows is one of the first decisions you make in the process, and when it came to deciding between black or white, it wasn’t a hard decision for me because I’ve always wanted classic, white windows. We used Windsor, wood aluminum clad windows, and made them more modern by doing a really thin, mullion detail. Plus, we chose a casement style, so they swing open instead of pushing up or out, giving them a streamlined look.
We also did a smaller, more narrow grid called a putty bar, which is what makes the windows look less bulky and more subtle. I went through and marked up the plans on how every grid needed to look on every window, and it was worth every minute!

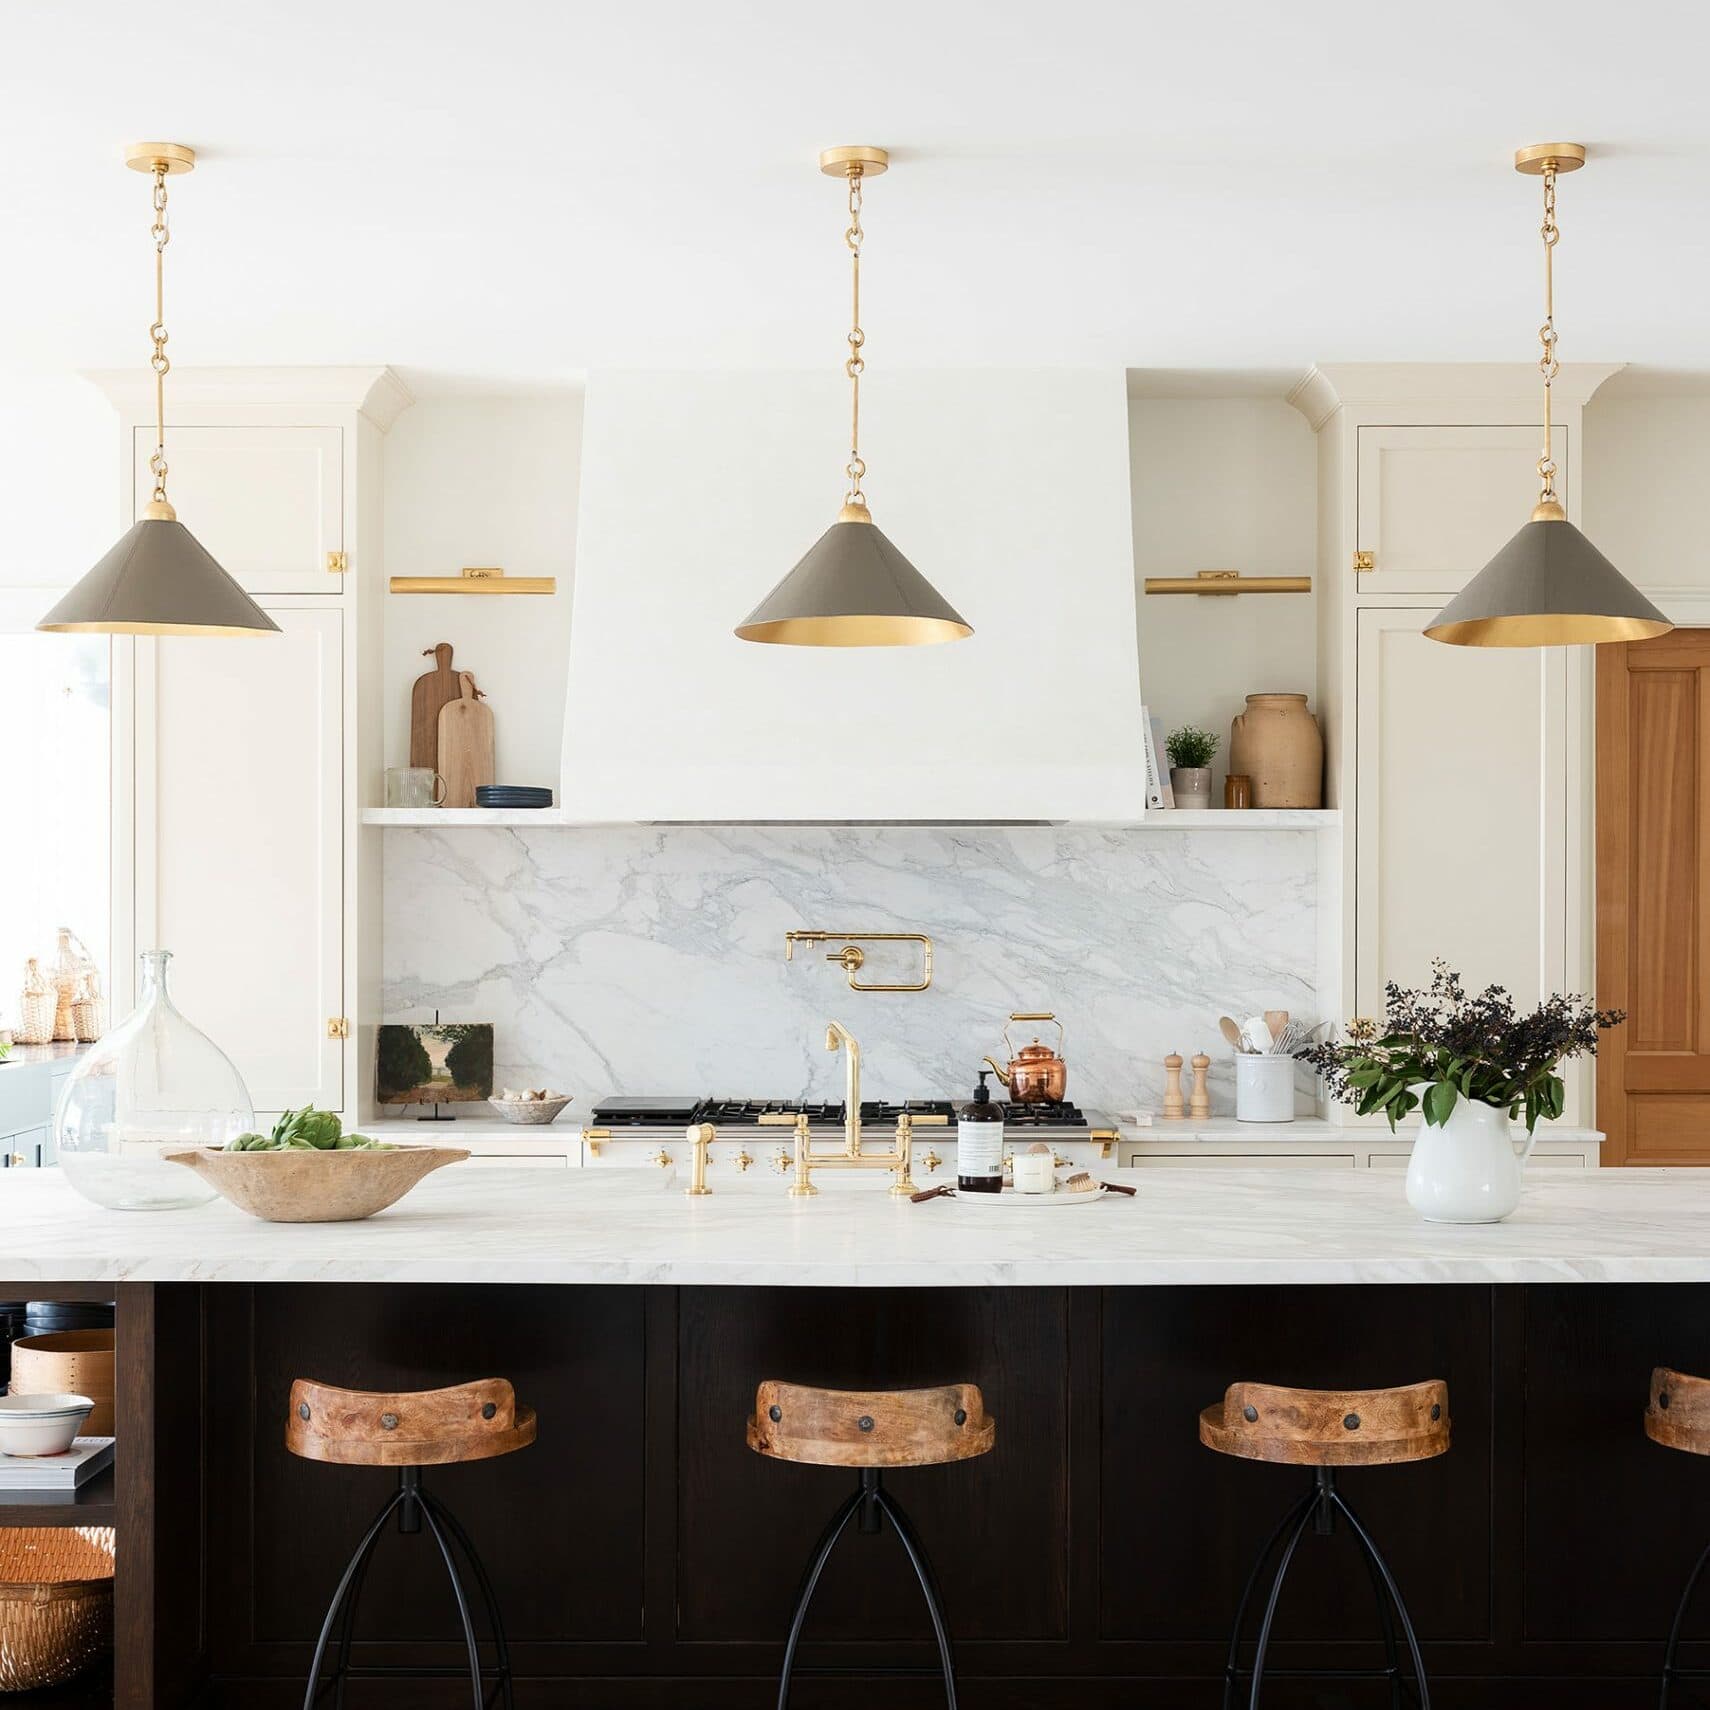
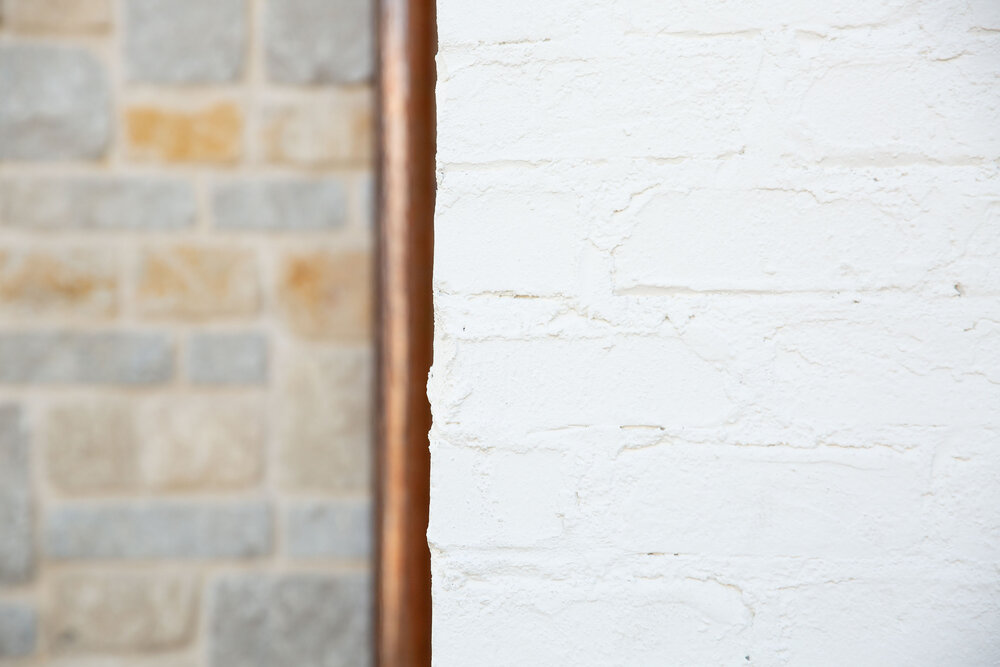
The Brick And Paint
I chose a brick pretty quickly, but it took me a while to find the paint for the look we were going for. I love historic homes and the chalky look of masonry paint, so I did some research and ended up falling in love with a Romabio masonry flat paint. Tyler had never worked with a paint like it before on an exterior, but we both loved the way it both lets the brick breathe and hides imperfections. After trying a bunch of different paint swatches, we landed on white dove by Benjamin Moore, it’s the perfect soft white, and we used it throughout the brick, the siding, and the trim.
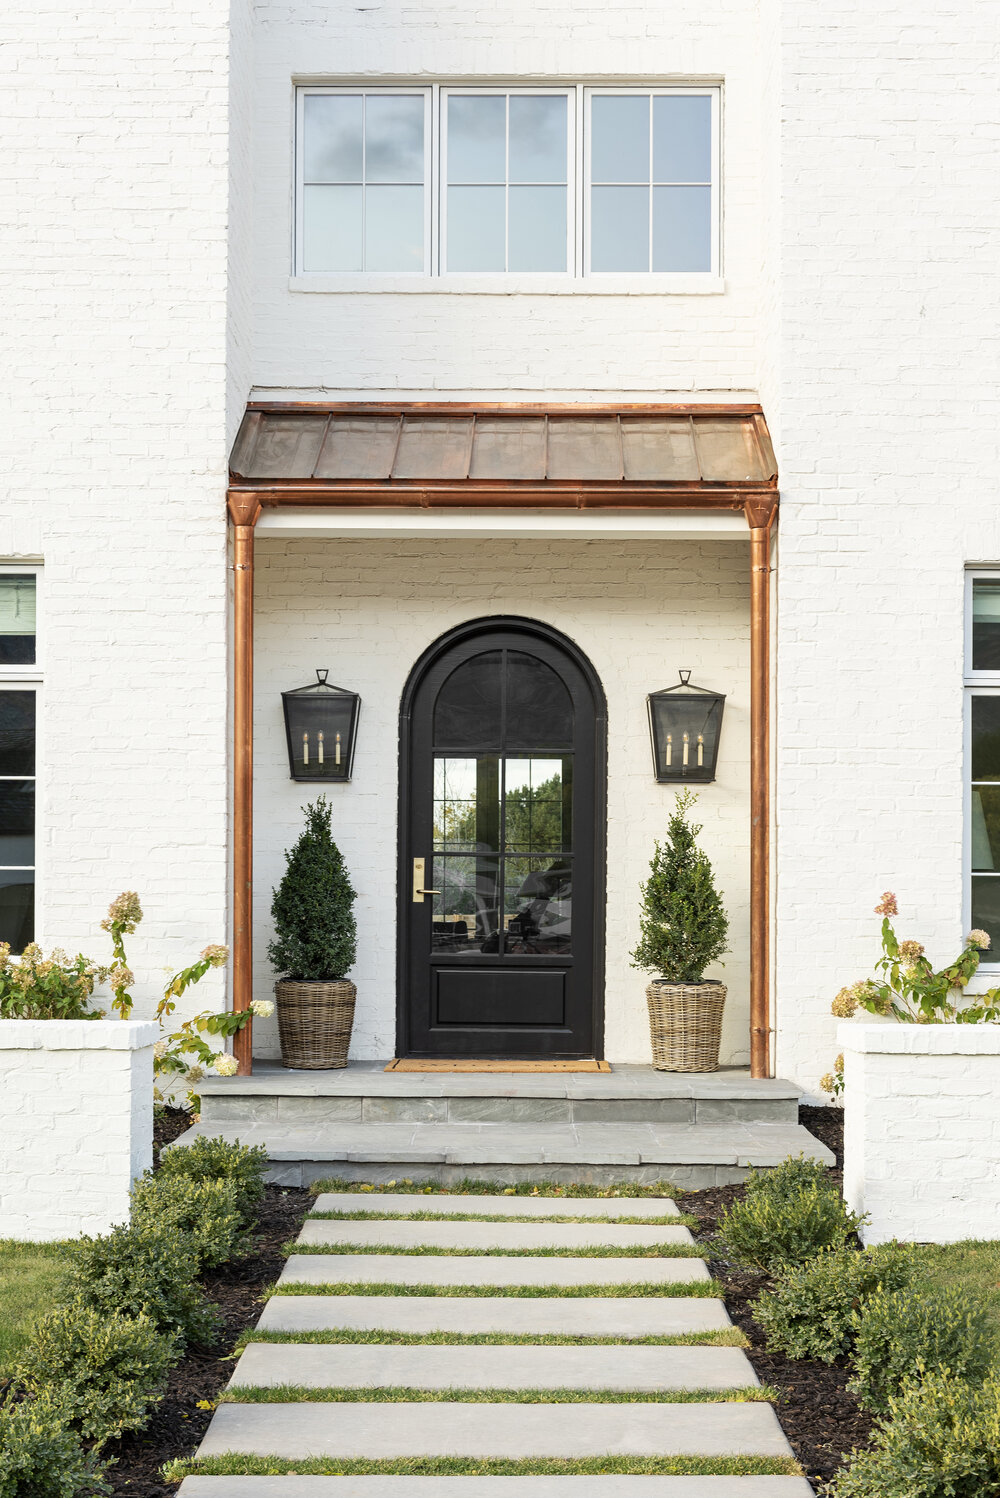
The Door
The door started as a rectangle, but everything was falling a little flat for me, so once I saw the rendering with an arch, I knew that was it. I did a custom design for it, and we painted it with Black Magic by Sherwin Williams to get a nice contrast against the white paint.
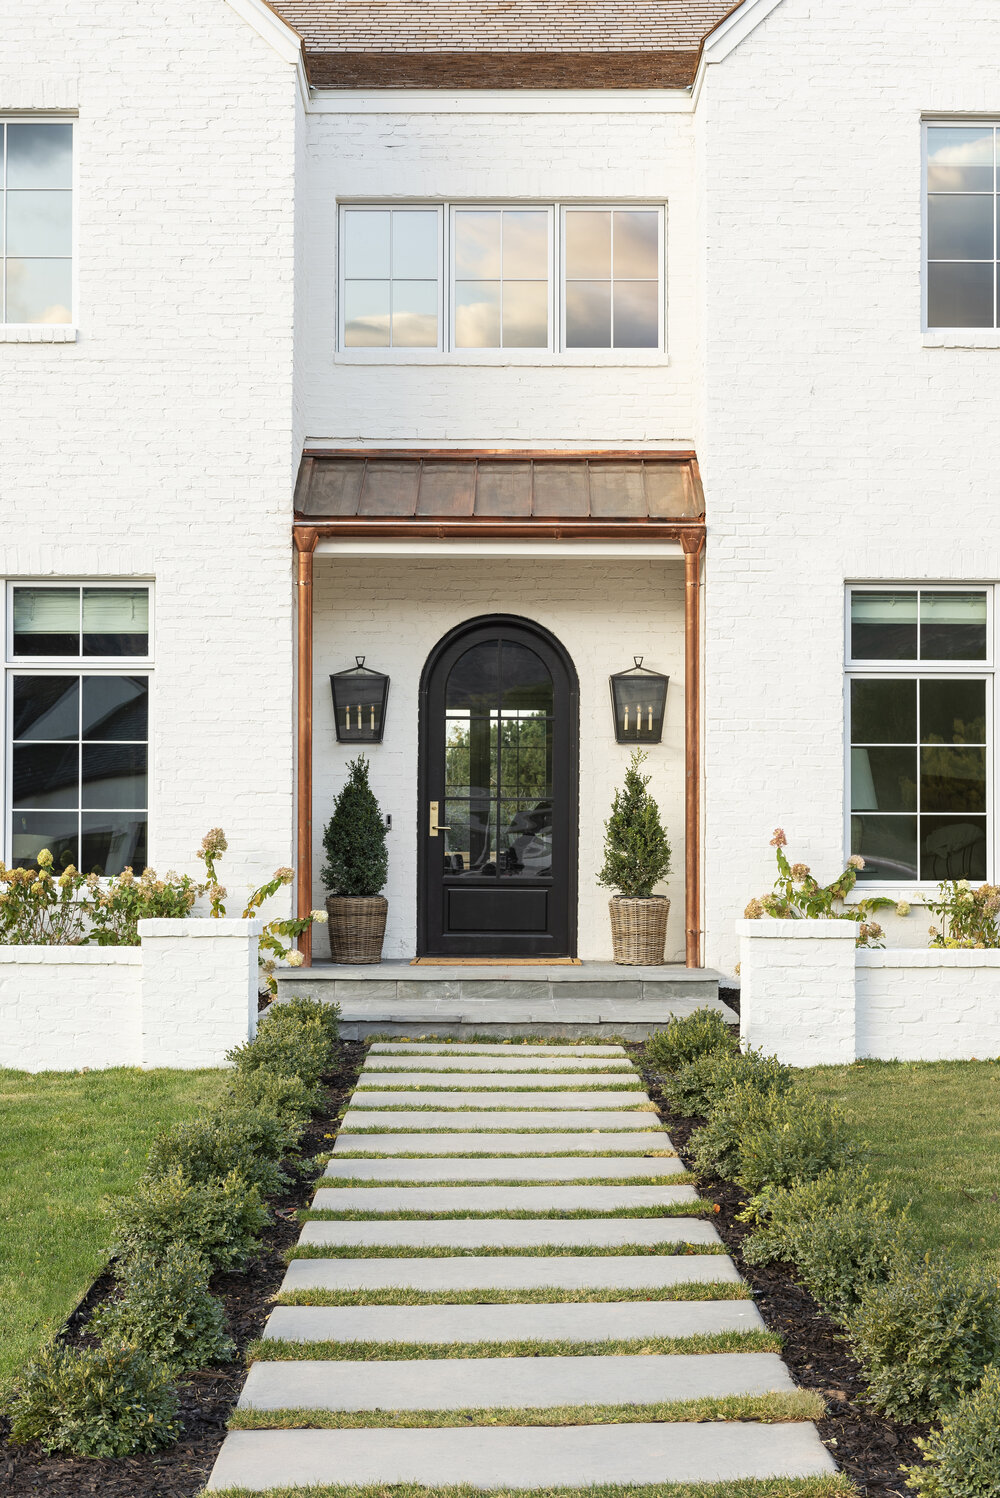
The Porch
One of the things I knew for sure was that I wanted blue-stone on our porch, it has so much color and texture, but it’s also really expensive. So instead of doing it on our entire pathway, we did it on the porch and our top two steps. Then, we did an interesting detail with the concrete, so they look like flagstones with six inches of grass in between to give it good curb appeal but at a lower price point. In the end, I was actually really glad we did that because I think it adds some interest to the front of the home.
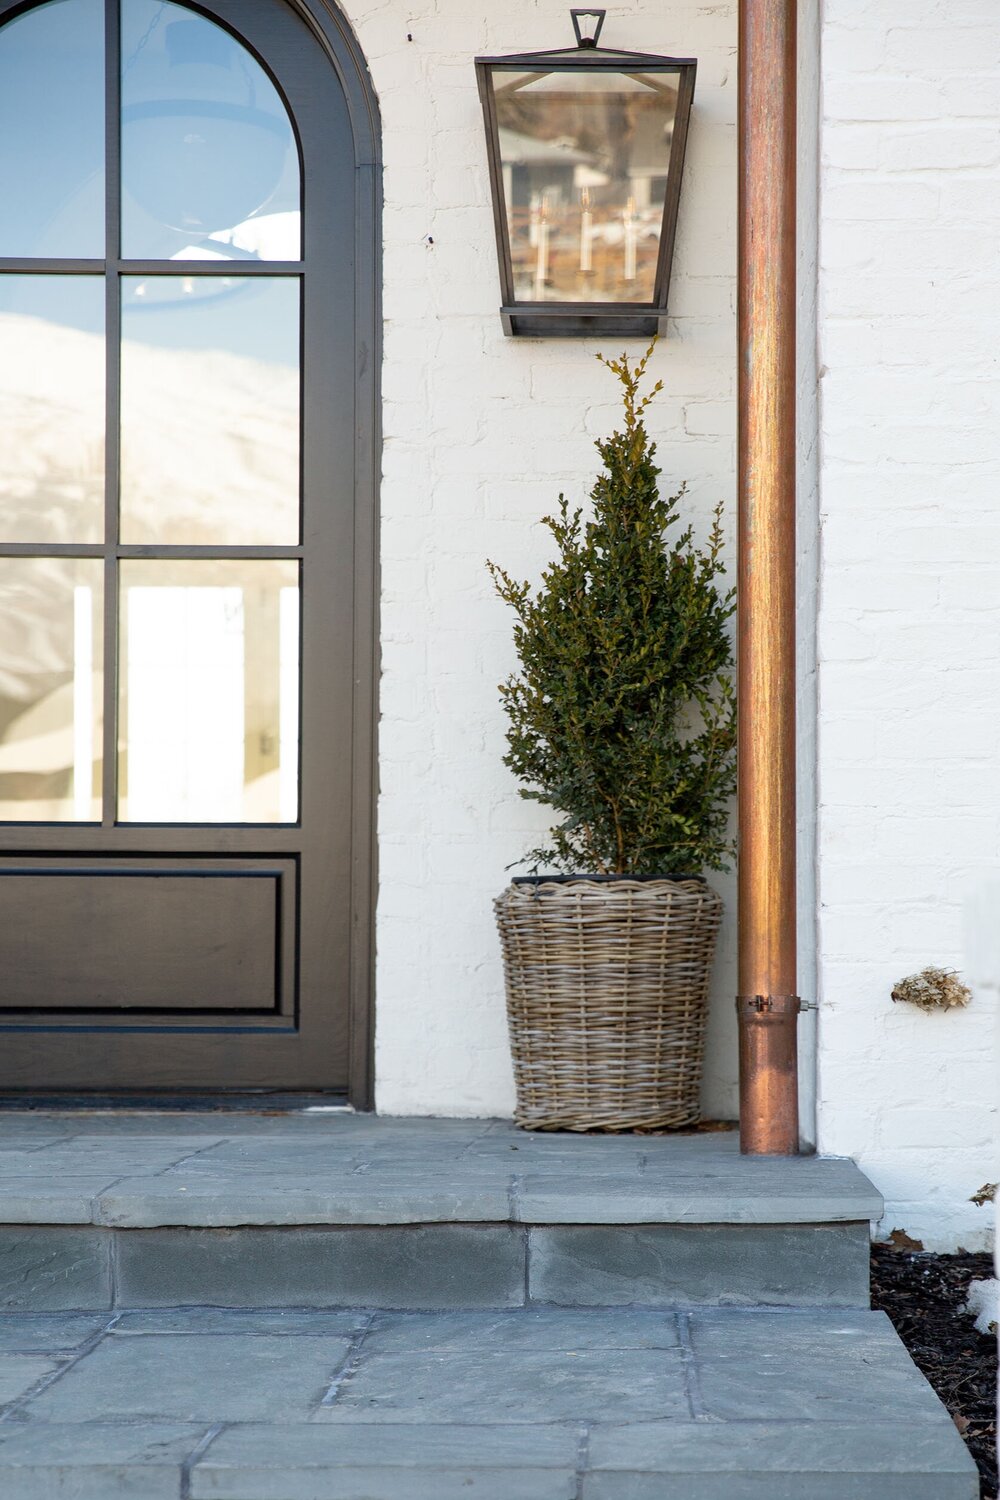
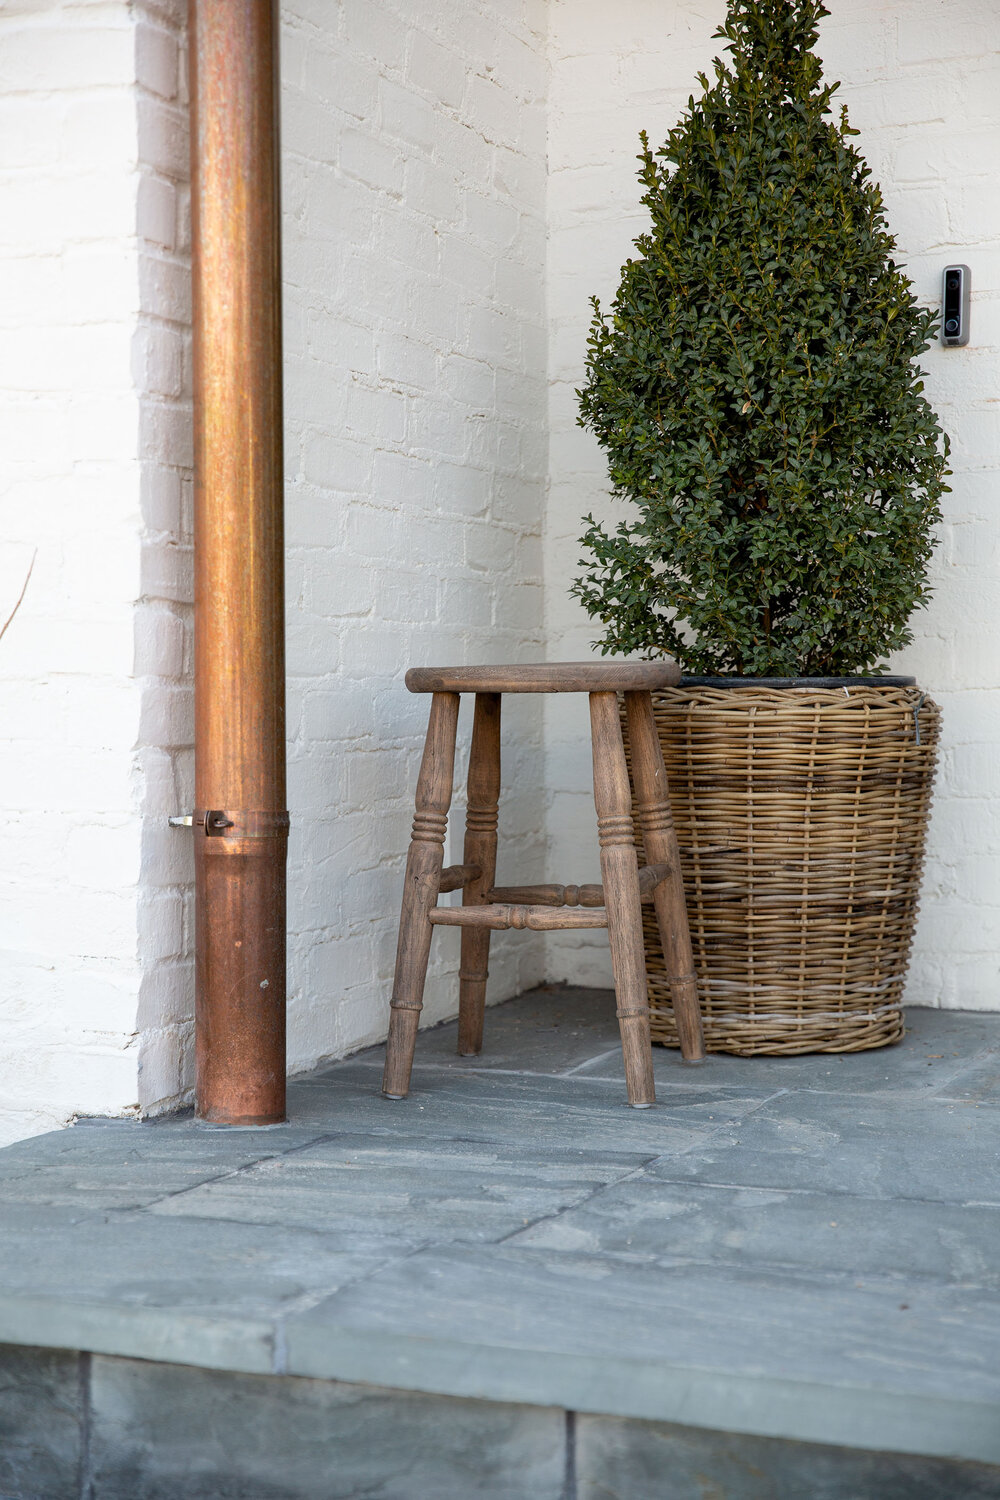
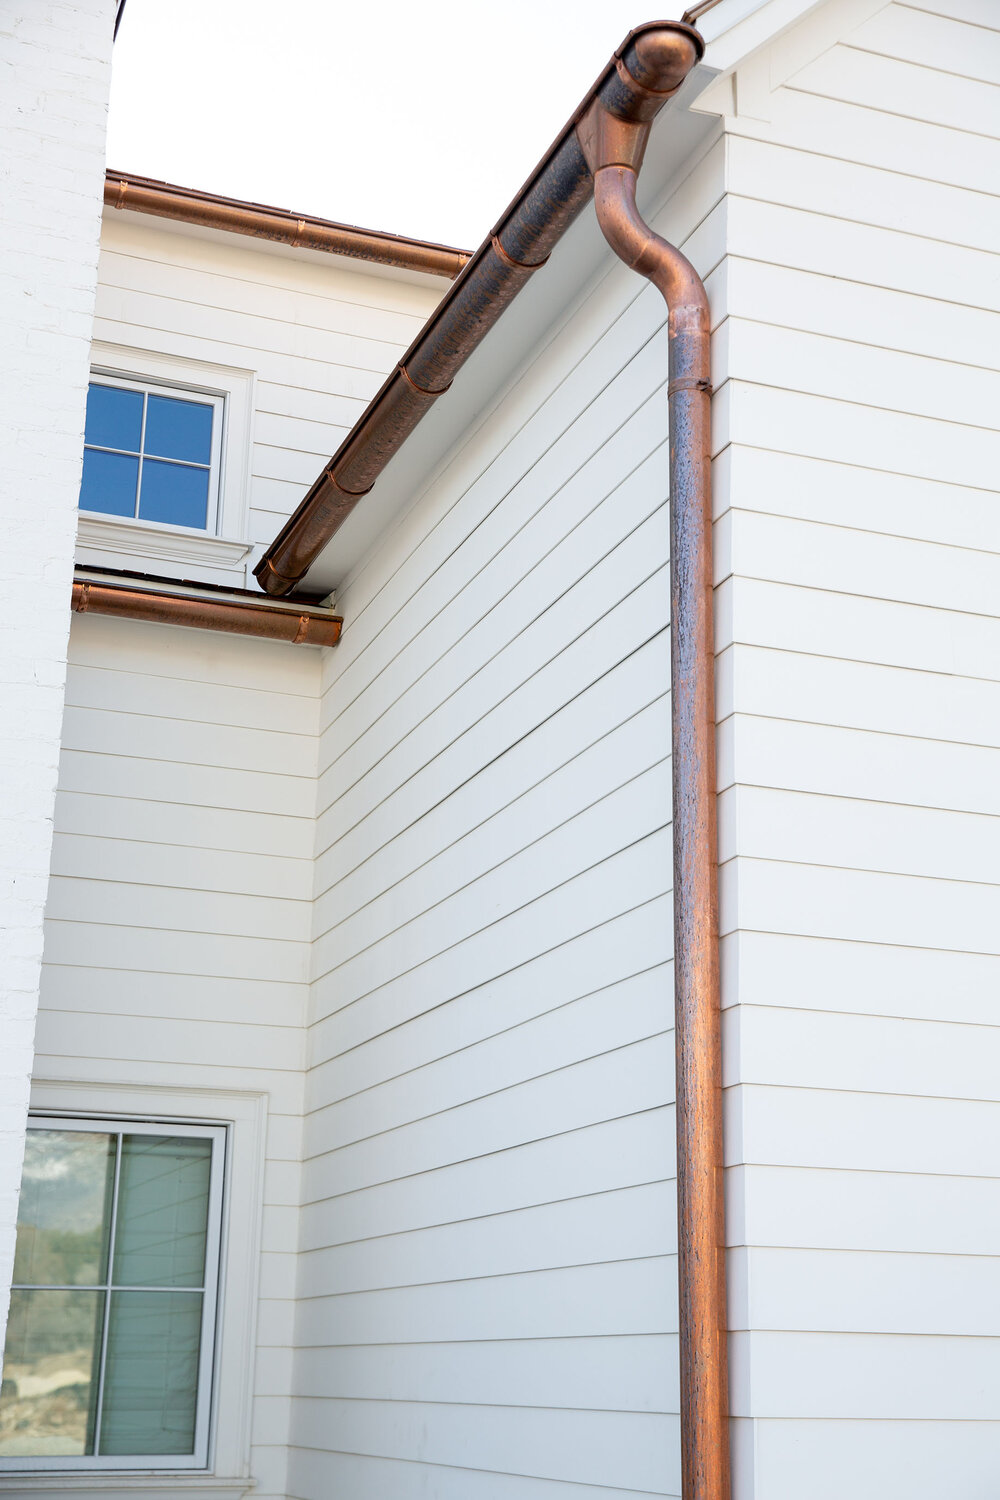
The Gutters
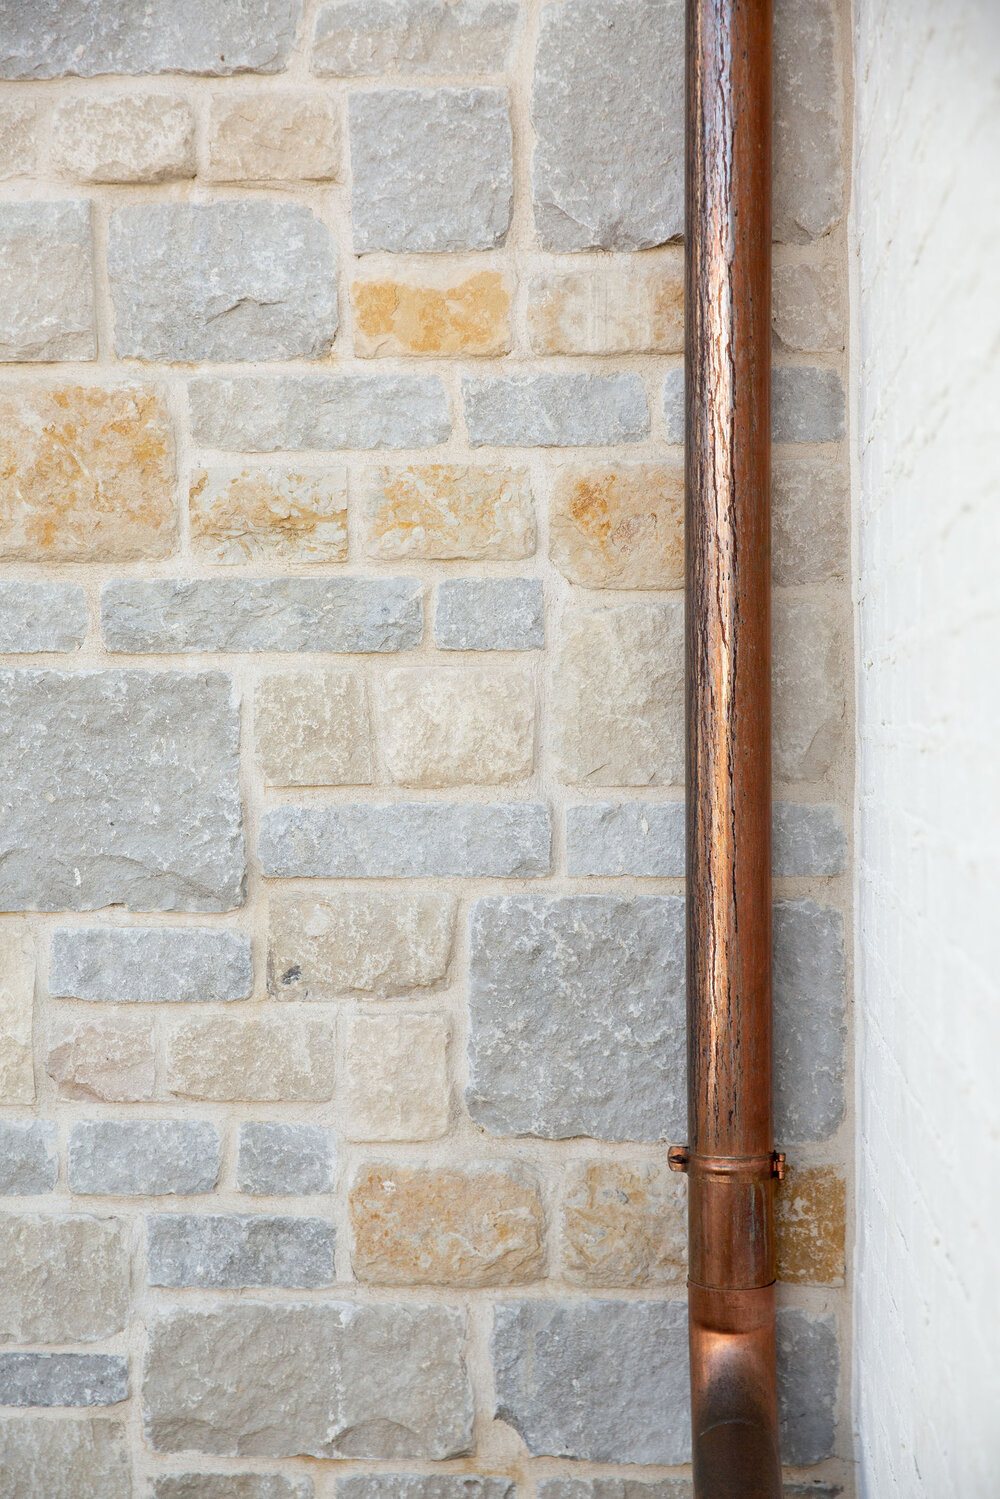
My heart was always set on copper gutters, and we kept coming back to them again and again throughout the process. We thought about doing them on the front of the home only, but we decided to go all out, it was a bit of a splurge, but I couldn’t be happier with the result.
I’ve gotten a lot of questions about the gutters, and if I’m worried about them changing, but I actually chose them because I know they’re going to change. I wanted a finish that would patina and give character to our home, so it didn’t look cookie-cutter, and the gutters will age and weather to give it a lot of character from the get-go. We even sprayed them with water right away to accelerate the aging process. Because of the gutters we chose, they won’t turn green, but there is an additive you can use to make them green if you want to. If you want them to stay shiny, you can use a clear coat to keep them bright.
The Shingles
On the roof, we bid out several options, but we kept coming back to a wood cedar shake. There’s a lot of different types of shake, and the one we ended up with is called a hand-split, cedar shake. We haven’t had issues with leaking, but if you do go with cedar shingles you need to embrace the weathered look, ours is already starting to fade, but I wanted ours to have that lived-in, natural look.
The Siding
On the siding, we used a smooth, hardy board material, and we shrunk the lap-depth to give it a little more of a custom look. It complements the brick and the stone on the home really well, bringing a different element of texture that completes the whole look.
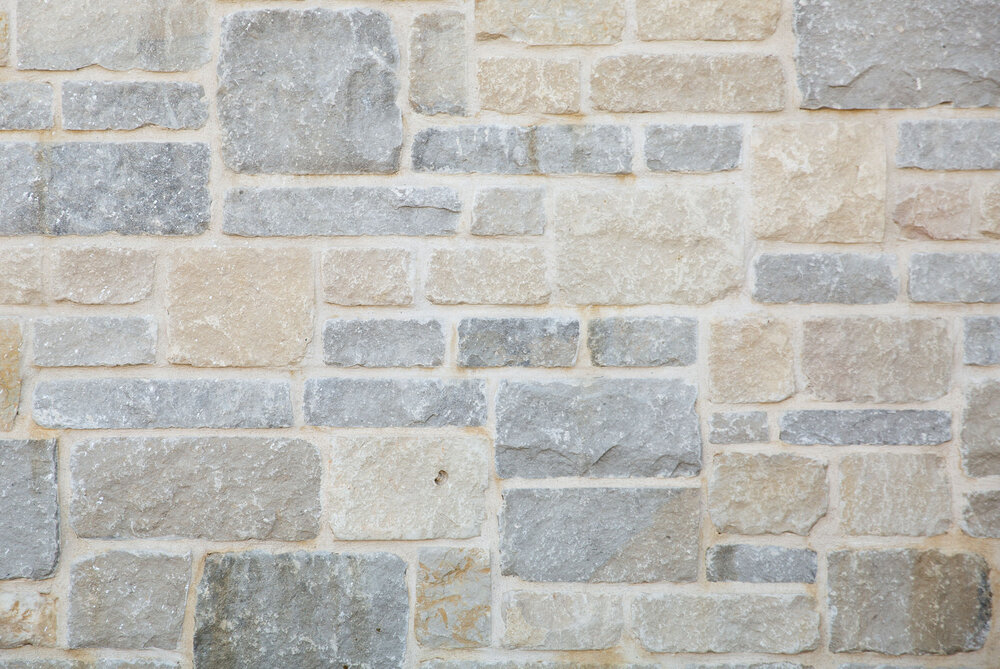
The Stone
The stone gave me a lot of headaches, and the drama of our stone was probably my most diva moment in the whole house build. The side of our house actually turned into a mini showroom for the community. Every day other designers and homeowners would come to look at our stone wall to see all the samples we had up on the wall.
Eventually, we got to that old, textural look we were going for by blending two types of stones from Hearth and Home and wiping the grout. I love the one we ended up with because it makes our house feel a bit different than every other white house out there and brings more contrast in the texture.
The Trim
We had brick, we had stone, we had siding, and then we had trim. We weren’t sure if we should put wood on everything, but we opted to just do the wood trim on the wood siding, and then we did a header and a sill to frame out our windows in the brick sections. I always love these little details because these are the details that make a home feel more custom.

I’m so happy when I drive up and see the front of our house every day. Not just because of how it looks, and not just because we poured our hearts into making it just how we wanted it, but also because it represents years of hard work that led us here.
Check back in soon for more reveal posts!
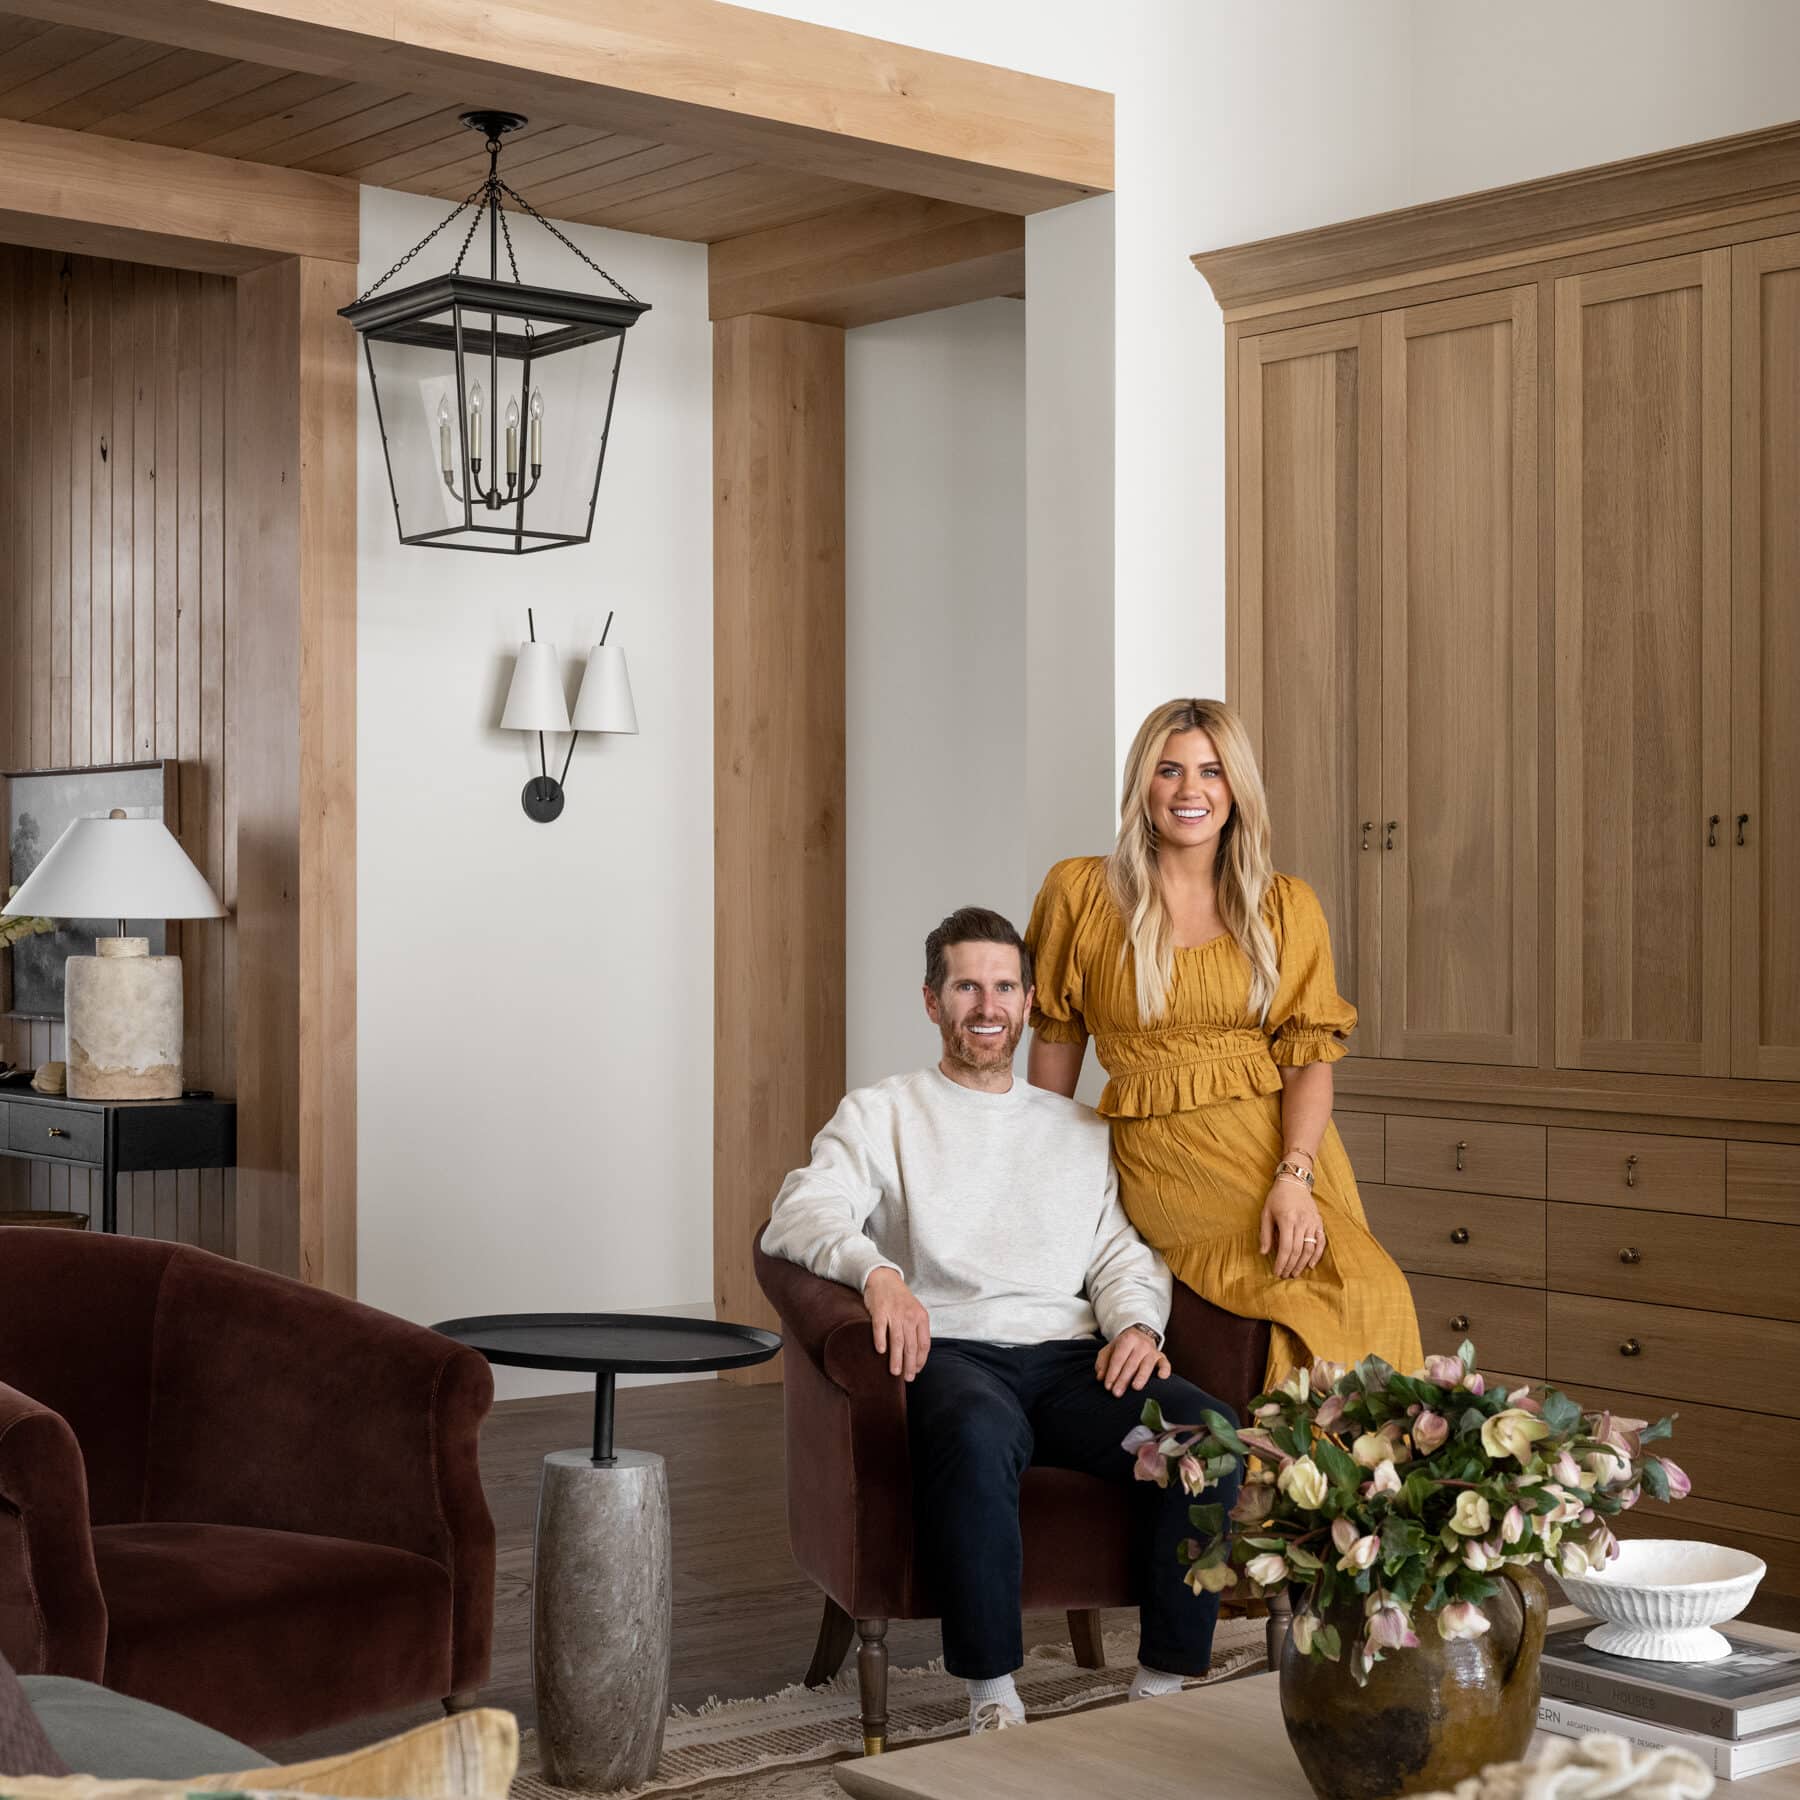
xo – Shea McGee
You May Also Like